Maggam work, also known as aari work or zardosi embroidery, is a traditional Indian embroidery technique that involves intricate thread work, beads, and sequins. Maggam hip belts are popular accessories that add a touch of elegance to traditional Indian outfits. If you’re interested in making your own Maggam hip belt, follow these step-by-step instructions:
Materials you will need:
- Wide fabric strip or velvet ribbon for the base
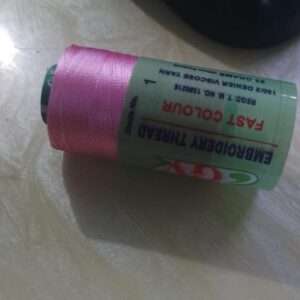
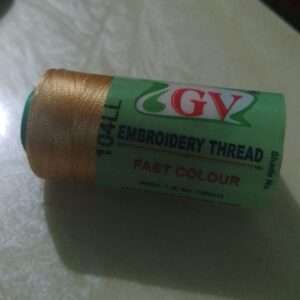
- Embroidery threads in various colors
- Needle
- Zardosi or aari needle (special needle for Maggam work)
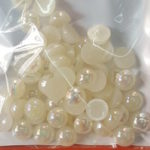
- Beads, sequins, and embellishments
- Fabric glue or adhesive
- Scissors
- Measuring tape
Step 1: Measure and cut the base strip Using a measuring tape, determine the desired length of your hip belt. Cut a wide fabric strip or velvet ribbon according to this measurement. The width of the strip can vary based on personal preference, but a width of 2-3 inches works well for a hip belt.
Step 2: Design the pattern Plan your design on paper or sketch it directly on the fabric strip. Choose motifs, floral patterns, or any design of your choice. Keep in mind the placement and spacing of the motifs along the length of the belt.
Step 3: Start embroidering Thread the regular needle with embroidery thread and secure a knot at one end. Begin embroidering the design by following your pattern. Use various stitches like chain stitch, satin stitch, or backstitch to create the desired motifs. You can incorporate different colors to make the design vibrant and eye-catching.
Step 4: Add embellishments Once the embroidery is complete, enhance the design by adding beads, sequins, or other embellishments. Use the zardosi or aari needle to attach these embellishments securely. You can experiment with different arrangements and combinations to achieve the desired look.
Step 5: Finishing touches Inspect your hip belt for any loose threads or uneven stitches. Make any necessary adjustments and trim excess threads with scissors. Ensure that all the embellishments are firmly attached.
Step 6: Attach the closure To fasten the hip belt around your waist, attach a hook-and-eye closure or a Velcro strip to the ends of the fabric strip. This will allow for easy wear and removal.
Step 7: Optional: Backing If desired, you can add a fabric backing to the inside of the hip belt for a neat finish. Cut a fabric strip slightly smaller than the width of the belt and attach it using fabric glue or adhesive. This will help conceal the embroidery threads and stitches.
Your Maggam hip belt is now ready to be worn with your favorite traditional outfit. Showcase your creativity and style with this unique accessory that adds a touch of glamour and elegance. Remember to handle the hip belt with care, avoiding rough handling or exposure to moisture to maintain its beauty and longevity.