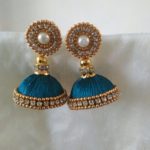
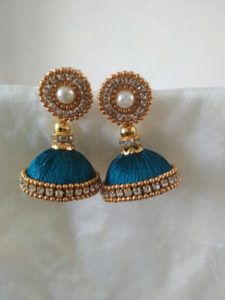
Silk thread jhumkas are beautiful and vibrant earrings that can add a touch of elegance to any outfit. If you’re interested in making your own silk thread jhumkas, here’s a step-by-step guide to help you get started:
Materials Needed:
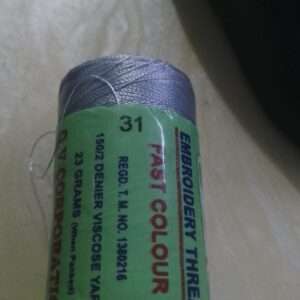
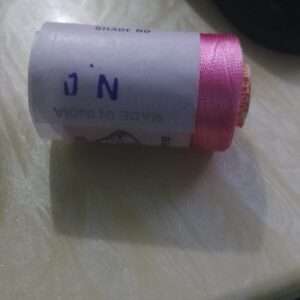
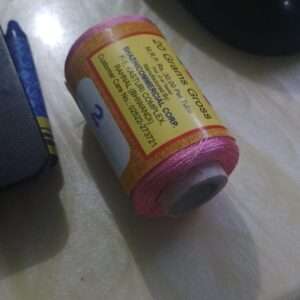
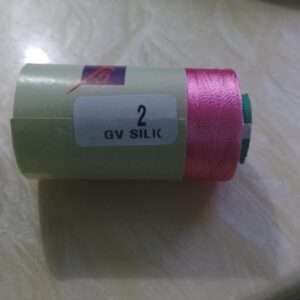
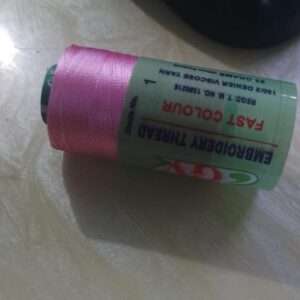
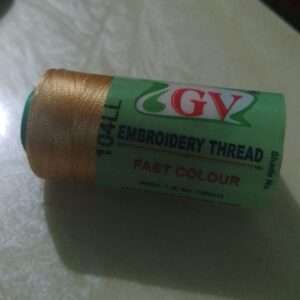
- Silk threads in desired colors
- Jhumka bases or pre-made jhumka caps
- Earring hooks
- Craft glue
- Scissors
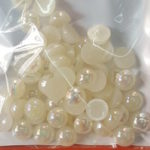
- Beads, pearls, or embellishments (optional)
- Jump rings (optional)
Step 1: Prepare the Jhumka Base If you’re using jhumka bases, ensure they are clean and free of any dust or residue. If you don’t have jhumka bases, you can create a base using thick cardboard or any other sturdy material. Cut out a circular shape for the base and make a small hole at the top for the earring hook.
Step 2: Wrapping the Silk Thread Choose the color of silk thread you want for your jhumka. Start by applying a small amount of craft glue at the top of the jhumka base or cardboard. Secure the starting end of the silk thread on the glued area and hold it in place until it sets.
Wrap the silk thread tightly around the base, making sure there are no gaps. Continue wrapping until the entire base is covered. Apply glue intermittently to secure the thread. Cut off any excess thread and glue the end to secure it.
Step 3: Creating the Jhumka Shape To create the traditional jhumka shape, take a long piece of silk thread and tie it tightly around the bottom edge of the wrapped base. Make a loop with the thread, ensuring it is large enough to give the jhumka its characteristic bell shape. Secure the loop by wrapping the thread tightly around it a few times and knotting it securely.
Step 4: Adding Embellishments (Optional) If you want to add beads, pearls, or other embellishments to your jhumkas, this is the time to do so. Use craft glue to attach them to the wrapped silk thread. You can get creative and experiment with different designs and patterns.
Step 5: Attaching the Earring Hook Insert the earring hook through the hole at the top of the jhumka base. Ensure it is securely in place. If needed, you can use jump rings to connect the hook and the jhumka for added stability.
Step 6: Finishing Touches Inspect your silk thread jhumkas for any loose ends or imperfections. Trim any excess thread and make sure all the embellishments are securely attached. Allow the glue to dry completely before wearing or gifting your jhumkas.
With these simple steps, you can create your own beautiful silk thread jhumkas. Feel free to experiment with different colors, designs, and embellishments to customize your jhumkas according to your style and preference. Enjoy the process and embrace your creativity while making these stunning earrings!