Home » DIY Tutorials (Page 2)

Category Archives: DIY Tutorials

Like , Share and Subscribe

Product Categories

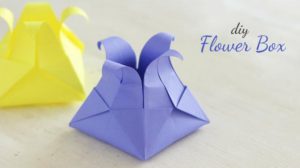
How to make paper flower box? DIY Flower Box using paper

Check out this video聽 to know how to make a flower box with paper.

Watch DIY Flower box below.

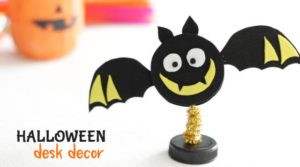
Learn how to make DIY Halloween Desk Decor.

DIY Halloween Desk Decor | Halloween DIY Decor

Learn how to make DIY Halloween Desk Decor.

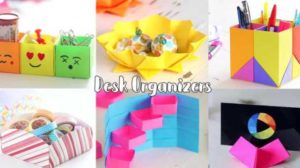
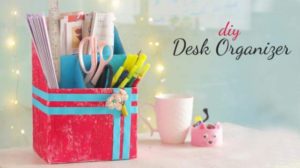
Amazing ways to make desk organiser on your own – Creative desk organiser ideas.

Check out the creative ways of making a desk organiser at home in simple steps. Follow the video to make your own desk organiser and feel proud.

These desk organizers are incredibly cute and creative! All you need is some colour papers and glue! Let’s have some fun! 馃槈

Try your desk organiser and comment below your output and happy crafting.

Amazing 5 Cute Crafts To Make For Mother’s Day

Check out 5 Cute Crafts To Make For Mother’s Day. Watch this video and make cute crafts and give your mother a surprise gift handmade by you.

Mothers Day crafts – 21frames – Art All The Way (Lifestyle & Fashion)

Check out 5 easy DIY Umbrellas

Check out 5 easy DIY Umbrellas in this post.

DIY Umbrella (21frames – Art All The Way (Lifestyle & Fashion)

DIY : Learn how to make paper basket

Check out how to make DIY paper basket in the below video.

DIY Paper Basket

Mother’s Day Carft Ideas : Learn how to make DIY Bow Envelope

As Mother’s Day is approaching, cute kids would like to give handmade presents to their Mom, So why to buy when you can prepare gifts on your own.

DIY bow envelope (Art All the Way/Ventuno)

Express your love for your mother by creating your own presents at home.

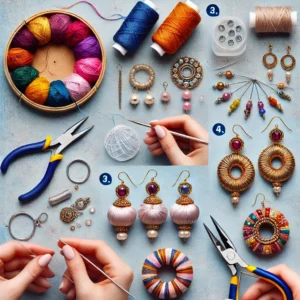
How to make easy handmade Jhumkas? Quilling Jhumkas, Silk Thread Jhumkas and Polka Dots Jhumkas

In this video, you can watch how to make easy handmade jhumkas like quilling jhumkas, silk thread jhumkas and polka dots jhumkas.

So see this video and do it yourself easy jhumkas for yourself and others.

Try these five easy DIY gift ideas for your loved ones

Check out the easy DIY gift ideas like how to make a greeting card at home when you have to time for shopping. Surprise your loved ones with your own handmade gifts.

In this video, you can see how to make a greeting card using a coloured papers and glitter papers. Also try to make a pop-up photo book, envelope and many interesting things.

Also check out how to make a valentine card for your valentine.

How to make DIY Safety pins ring, Fabric flip flop and Paper Umbrella

In this post let us see three DIYs of making safety pins ring, fabric flip flop and paper umbrella.

How to make DIY safety pins ring?

Materials required to make ring using safety pins:

  • Safety pins
  • Elastic
  • Beads thread

DIY Method of preparing safety pins ring :

1. Get some small safety pins and some beads of your favourite colour.
2. Insert the beads into the safety pins.
3. Take two elastic threads.
4. Insert the safety pins into the elastic threads one at a time until it is long enough to fit your finger.
5. Make some tight knots at the end of the elastic threads.

How to make DIY fabric flip flop?

Materials required to make fabric flip flop:

  • Flips flops
  • Fabric strips
  • Craft knife
  • Hot glue

Method of preparing DIY fabric flip flop

1. Using a craft knife, cut off and remove the straps of the flip flops.
2. Take two fabric strips of fabric and insert them into the top hole of the flipflop as shown.
3. Tie a knot in the back.
4. Tie two knots at the top as shown and then the fabric into one hole each and tie knots at the back to hold them in place.
5. Cut off the excess fabric and apply some hot glue over the knots at the back to hold it in place.

DIYs Art All the Way
DIYs Art All the Way (Image Courtesy: Art All The Way/Ventuno)

How to make DIY Paper Umbrella?

Materials required to make DIY paper umbrella:

  • Craft paper
  • Scissors
  • Fevistick
  • Hot glue gun
  • Toothpick/thin stick
  • Pearl/bead
  • Bead-cap

Method of preparing DIY paper umbrella:

1. Cut several circles of radius 5 cm from a craft paper.
2. Fold all the circles in half.
3. Fold in half again. Crease well and unfold.
4. Apply some glue near the crease lines and fold again as shown in the video.
5. Flatten the two loops formed as shown.
6. Apply some glue on the folded corner of one circle and paste another folded circle on it.
7. Repeat this until all the circles have been stuck together.
8. Paste the two ends together.
9. Using some hot glue, stick a pearl or bead on the top center.
10. Similarly, use some hot glue and stick a toothpick or thin stick at the bottom center.
11. Insert a bead-cap at the end as shown.

Products