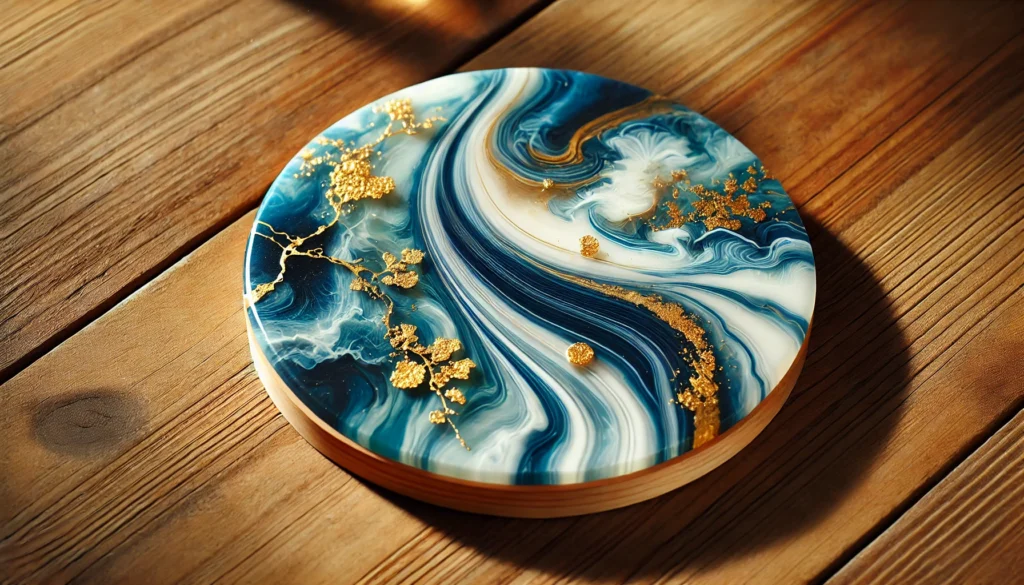
Resin art has gained immense popularity in recent years due to its versatility and the unique aesthetic it offers. One of the most popular DIY projects within resin art is creating resin coasters. Resin coasters are not only functional but also add a beautiful touch to home decor. This guide provides a step-by-step process for beginners to create resin coasters, including the materials needed, the process to make them, and where to buy the materials.
Materials Needed for Making Resin Coasters
Before starting the resin coaster-making process, it is essential to have all the necessary materials on hand. Here is a list of the materials required:
- Epoxy Resin and Hardener: The primary material for resin coasters is epoxy resin, which comes in two parts – resin and hardener. When mixed together, these create a solid, glossy finish.
- Silicone Coaster Molds: These molds help shape the resin into coasters. They come in various shapes like round, square, hexagonal, and more.
- Mixing Cups and Stirring Sticks: Use disposable mixing cups and wooden or plastic stirring sticks to mix the resin and hardener.
- Protective Gear: Gloves, a mask, and safety goggles are essential to protect yourself from the fumes and chemicals while working with resin.
- Heat Gun or Butane Torch: A heat gun or torch is used to remove bubbles from the resin after pouring.
- Pigments and Dyes: To add color to the resin, use mica powders, alcohol inks, or liquid resin dyes.
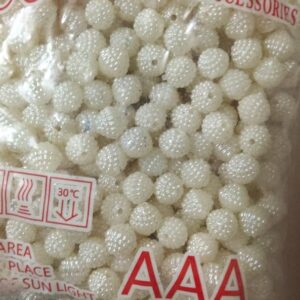
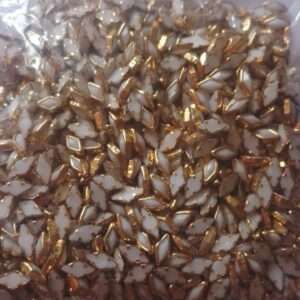
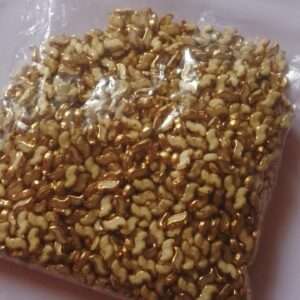
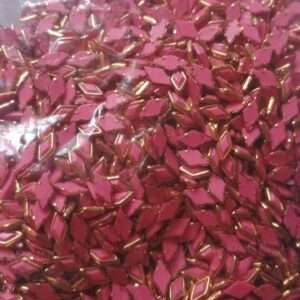
- Glitters, Dried Flowers, and Other Embellishments: These materials can be used to add decorative elements to the resin coasters.
- Parchment Paper or Plastic Sheet: Place your molds on parchment paper or a plastic sheet to protect your workspace from resin spills.
- Measuring Scale: Accurate measurements of resin and hardener are crucial, so use a digital scale to measure the quantities.
- Resin Release Spray: This spray helps release the resin from the molds easily once cured.
Step-by-Step Process to Make Resin Coasters
Follow these steps to create your own resin coasters:
Step 1: Prepare Your Workspace
Set up your workspace in a well-ventilated area. Cover the surface with parchment paper or a plastic sheet to protect it from resin spills. Make sure all your materials are within reach. Wear protective gloves, a mask, and safety goggles to ensure safety.
Step 2: Measure and Mix the Resin
Carefully measure equal parts of resin and hardener using a measuring scale, following the manufacturer’s instructions. Pour them into a mixing cup and stir slowly for 3-5 minutes using a stirring stick. Make sure to scrape the sides and bottom of the cup to mix thoroughly. Mixing too fast can create bubbles, so take your time.
Step 3: Add Pigments and Embellishments
Divide the mixed resin into smaller cups if you plan to use different colors. Add pigments, dyes, or mica powders to the resin and stir until the color is evenly distributed. You can also add glitters, dried flowers, or other embellishments for a more decorative touch.
Step 4: Pour the Resin into the Molds
Pour the colored resin mixture into the silicone coaster molds. Fill the molds about halfway, and then gently add any additional embellishments you want to include, such as dried flowers or gold flakes. Once you’re satisfied with the design, pour another layer of resin to fill the mold completely.
Step 5: Remove Bubbles
Use a heat gun or butane torch to remove any air bubbles from the resin. Hold the torch or heat gun about 4-6 inches away from the surface and move it around until all the bubbles are gone. Be careful not to overheat the resin, as it can cause it to burn or warp.
Step 6: Let the Resin Cure
Allow the resin to cure according to the manufacturer’s instructions. This process usually takes 24-48 hours. Make sure the molds are placed on a level surface and cover them with a box or a lid to protect them from dust and debris.
Step 7: Demold the Coasters
Once the resin has fully cured, gently remove the coasters from the silicone molds. If you used a resin release spray, this process should be easy. If not, carefully peel the mold away from the coaster to avoid damaging it.
Step 8: Sand and Finish the Edges
If the edges of the coasters are rough or uneven, use fine-grit sandpaper to smooth them out. This step will give your coasters a clean, professional look.
Step 9: Apply a Clear Topcoat (Optional)
To add extra shine and protection, you can apply a clear topcoat of resin to the coasters. Mix a small amount of resin and hardener, and pour a thin layer over each coaster. Remove any bubbles with a heat gun or torch, and let it cure for another 24 hours.
Where to Buy Materials for Resin Art
Materials for resin art can be found at various craft stores, online marketplaces, and specialty resin suppliers. Here are some popular places to buy resin art materials:
- Amazon: Offers a wide range of resin, molds, pigments, and embellishments with customer reviews to help you choose the right products.
- Etsy: A great platform for finding unique silicone molds and handmade embellishments.
- Michaels and Hobby Lobby: Popular craft stores with a good selection of resin supplies, pigments, and molds.
- ArtResin: A specialized supplier for high-quality resin and resin art accessories.
- Local Craft Stores: Check out local stores for basic supplies like resin, hardener, pigments, and mixing tools.
Creating resin coasters is a fun and rewarding DIY project that allows for endless creativity. With the right materials, protective gear, and a step-by-step guide, beginners can easily master the art of resin coasters. The process involves preparing the workspace, mixing and pouring resin, adding decorative elements, and curing the final product. Once you get the hang of it, resin art can become a relaxing and fulfilling hobby.