Home » Posts tagged 'Aari embroidery'
Tag Archives: Aari embroidery
Discover the Secrets to Stunning Aari Work with This Step-by-Step Guide!
Learn the essential tools and step-by-step process to master Aari work embroidery on blouses. Perfect for beginners and traditional fashion lovers!
Aari work, a form of intricate hand embroidery originating from India, has gained immense popularity in recent years for its exquisite designs and detailed craftsmanship. Aari embroidery is often used to embellish blouses, sarees, and other traditional garments, adding elegance and charm to the fabric. This article provides a comprehensive guide to the tools and requirements needed for Aari work, along with a step-by-step process for beginners to get started.
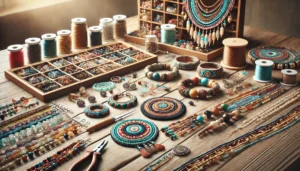
Tools and Materials Required for Aari Work
Before diving into the step-by-step guide, it is essential to have the right tools and materials on hand. Here is a list of essential tools and materials needed for Aari embroidery:
- Aari Needle (Tambour Needle): The primary tool used in Aari work, the Aari needle, is a fine, sharp hook resembling a crochet needle. It is designed to create intricate chain stitches with great precision.
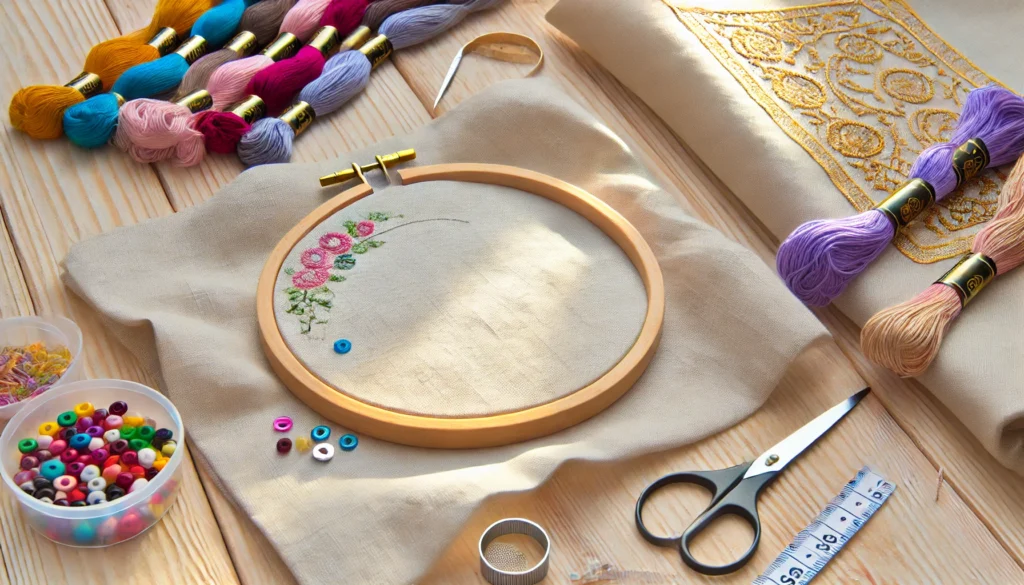
- Wooden Hoop Frame: A wooden or plastic embroidery hoop is used to stretch and secure the fabric tightly, ensuring stability while working on the intricate designs. The frame helps maintain tension, making it easier to work with the needle.
- Embroidery Thread (Silk or Cotton): Aari work typically involves colorful silk or cotton threads. The type of thread used can vary based on the design, fabric, and desired finish.
- Fabric (Blouse Material, Silk, Cotton): Aari embroidery can be done on various fabrics, including silk, cotton, georgette, and net. The fabric choice depends on the garment you wish to embellish and the design’s complexity.
- Beads, Sequins, and Stones: To add more embellishments, beads, sequins, stones, and other decorative materials are used to enhance the beauty of the embroidery.
- Scissors: A pair of sharp scissors is essential for cutting threads and fabric edges neatly.
- Chalk or Fabric Marker: Chalk or a fabric marker is used to outline the design on the fabric before starting the embroidery.
- Thread Cutter: A thread cutter is a handy tool for trimming excess threads while working.
- Thimble: A thimble protects your fingers from needle pricks and provides a better grip on the needle.
- Measuring Tape and Ruler: These tools help ensure accuracy while marking and designing on the fabric.
Step-by-Step Guide to Aari Work on Blouses
Now that you have gathered all the necessary tools and materials, it’s time to begin the Aari embroidery process. Follow these steps to create beautiful Aari work on blouses:
Step 1: Prepare the Fabric
Begin by selecting the fabric for the blouse. Wash and iron the fabric to remove any wrinkles. Stretch the fabric onto the wooden hoop frame, ensuring it is taut and wrinkle-free. Tighten the screw to secure the fabric firmly in place.
Step 2: Draw the Design
Using chalk or a fabric marker, draw the desired design on the fabric. Start with a simple design if you are a beginner, as intricate designs require more skill and patience. Ensure that the design is clear and easy to follow.
Step 3: Thread the Aari Needle
Choose the appropriate color of embroidery thread and thread the Aari needle. Aari needles come with a small hole at the tip for threading. Ensure the thread is securely in place to prevent it from slipping while working.
Step 4: Start the Chain Stitch
Begin stitching by inserting the Aari needle into the fabric from the underside. Pull the needle up through the fabric and create a loop with the thread. Insert the needle again close to the previous stitch and pull the thread to form a chain stitch. Continue this process, following the outline of the design.
Step 5: Add Beads and Sequins
To enhance the design, you can add beads, sequins, and stones. Place a bead or sequin on the needle, and secure it with a small stitch before continuing with the chain stitch. Repeat this process, spacing the beads and sequins evenly as per the design.
Step 6: Complete the Design
Continue stitching and embellishing the design until you have covered the entire pattern. Be patient and ensure each stitch is neat and uniform. Take breaks if needed to avoid straining your eyes and hands.
Step 7: Finish and Secure the Threads
Once the embroidery is complete, finish by tying a knot at the end of the thread on the underside of the fabric. Trim any excess threads with the thread cutter or scissors. Remove the fabric from the hoop frame and gently iron it on the reverse side to flatten the stitches.
Step 8: Final Touches
Inspect the embroidery to ensure no loose threads or uneven stitches. Make any necessary adjustments or additions to perfect the design. Your Aari-embroidered blouse is now ready to wear or gift!
Conclusion
Aari work requires practice and patience, but the results are worth the effort. With the right tools, materials, and step-by-step guidance, even beginners can master the art of Aari embroidery. Start with simple designs and gradually move to more complex patterns as you gain confidence and skill. Aari work not only enhances the beauty of traditional blouses but also adds a personal touch to any outfit.
Products
-
 Fancy Finger Rings combo of 9
Original price was: 300.00₹.270.00₹Current price is: 270.00₹.
Fancy Finger Rings combo of 9
Original price was: 300.00₹.270.00₹Current price is: 270.00₹.
-
 Silver Plated Rings Gemstone 15Pcs Ring Set For Women & Girls
Original price was: 350.00₹.300.00₹Current price is: 300.00₹.
Silver Plated Rings Gemstone 15Pcs Ring Set For Women & Girls
Original price was: 350.00₹.300.00₹Current price is: 300.00₹.
-
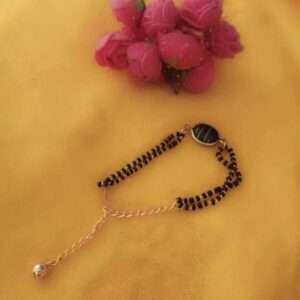 Mangalsutra Black beads bracelet
Original price was: 75.00₹.60.00₹Current price is: 60.00₹.
Mangalsutra Black beads bracelet
Original price was: 75.00₹.60.00₹Current price is: 60.00₹.
-
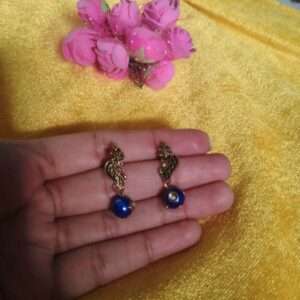 Antique gold bead earrings
Original price was: 40.00₹.30.00₹Current price is: 30.00₹.
Antique gold bead earrings
Original price was: 40.00₹.30.00₹Current price is: 30.00₹.
-
 Silver bead earrings
Original price was: 40.00₹.30.00₹Current price is: 30.00₹.
Silver bead earrings
Original price was: 40.00₹.30.00₹Current price is: 30.00₹.
-
 Framed kundans round gold 4mm - 10g
Original price was: 30.00₹.28.00₹Current price is: 28.00₹.
Framed kundans round gold 4mm - 10g
Original price was: 30.00₹.28.00₹Current price is: 28.00₹.
Latest Posts
- Discover the Rich Significance Behind the Ornaments Worn by Indian Women!
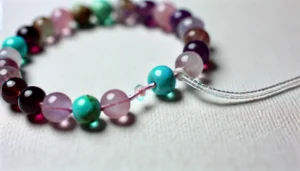
- Make Your Own Stunning Beaded Bracelet with These Simple Steps!
- DIY Resin Coasters: A Beginner’s Step-by-Step Guide to Creating Stunning Coasters!
- Discover the Secrets to Stunning Aari Work with This Step-by-Step Guide!

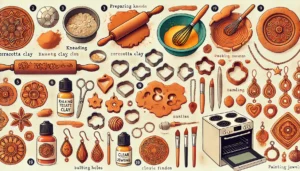
- DIY Terracotta Jewelry: Unleash Your Creativity with These Easy Step-by-Step Images!
- Discover the unexpected comeback of ancient beadwork and beaded jewelry traditions that are turning heads!